Widgets
Widgets and Sidebars
The Widgets options menu looks like this:
-
Use the left arrow to get back to the upper parent settings menu item.
-
Use the Save and Publish button to save your changes made in the settings.
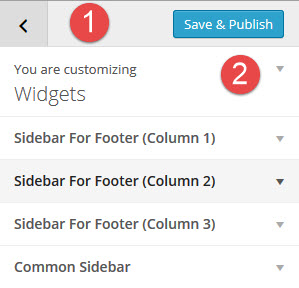
In the Widgets options you can add widgets to 4 of the default widgets container areas that are created by the theme.
- Sidebar for Footer (Column 1)
- Sidebar for Footer (Column 2)
- Sidebar for Footer (Column 3)
- Common Sidebar
Note : There are only these 4 widgets containers that can be set and adjusted in the customizer.
How To Add Widgets in the customizer?
To add widgets in the customizer click the “Add A Widget”button. You will notice that the list of widgets will appear on the right side if that button and you can search for a certain widgets or if its already visible select it. The moment you select a widget it will be added to the container you started the adding widget process from and the options to be set for that widget will become visible. Set the options as you want the widget to behave itself. Once done you can save the settings in the customizer.
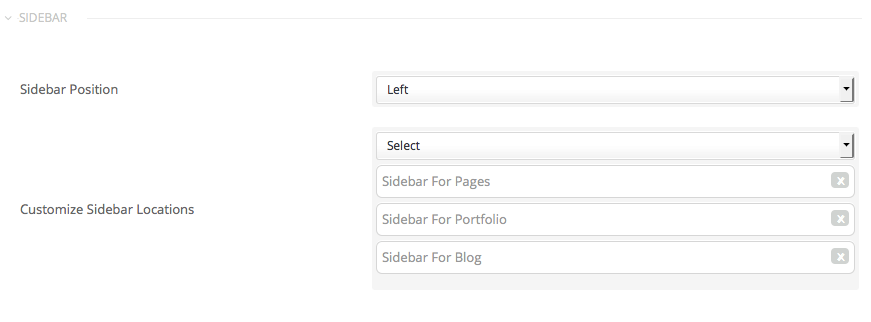
Customize widget areas for a page individually
Edit a page/post and select Right / Left option from the Sidebar Position list. Then you’ll able select to customize the order of the sidebars that will be displayed for the page. Leave the list blank to use the default settings.
Creating new sidebars
For creating a new sidebar you’ll need to install a plugin like;
Stag Custom Sidebars Plugin
WPMuDev Custom Sidebars Plugin
Once you created a new sidebar you’ll be able to select it inside the sidebar locations list.